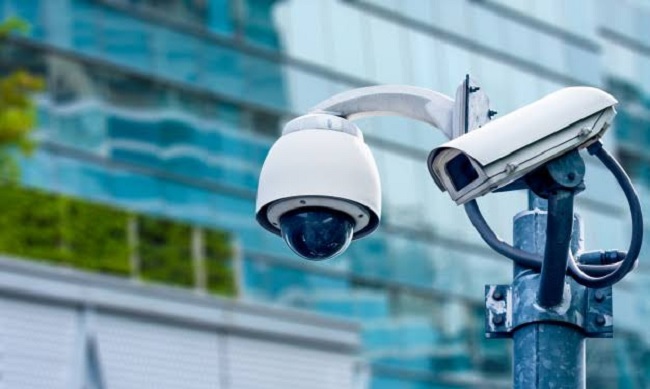
Autonomous camera: all about wireless video surveillance
A stand-alone camera is a surveillance camera that does not need to be plugged into the mains to operate. This allows wireless video surveillance, thanks to a rechargeable battery and connection to the wifi network. In this article, you will discover the advantages of an autonomous camera, then a comparison of different models (solar camera, autonomous 4G surveillance camera, etc.).
What is a stand-alone camera?
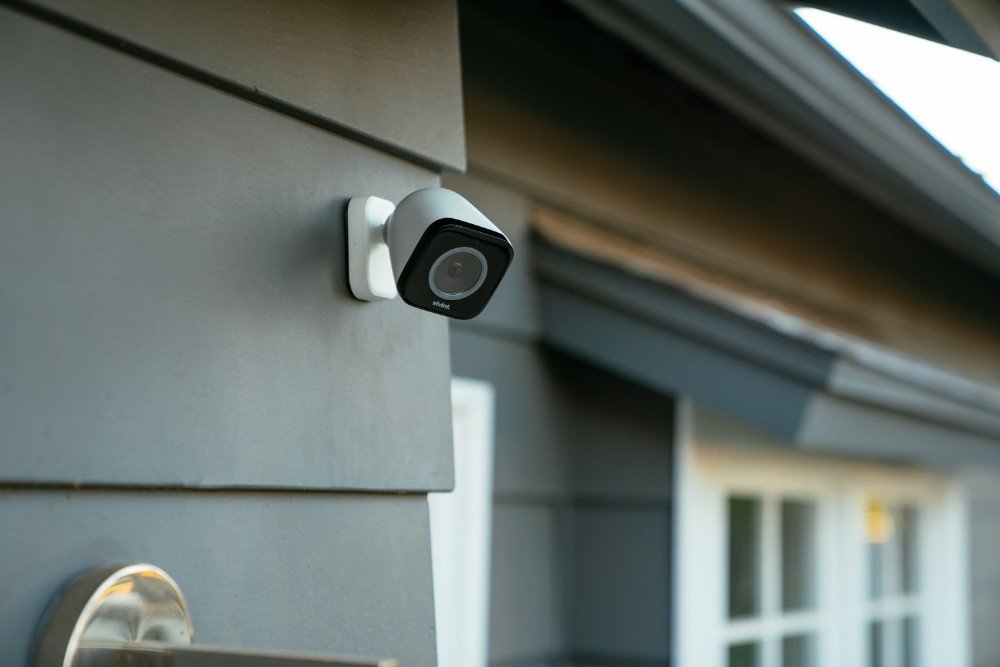
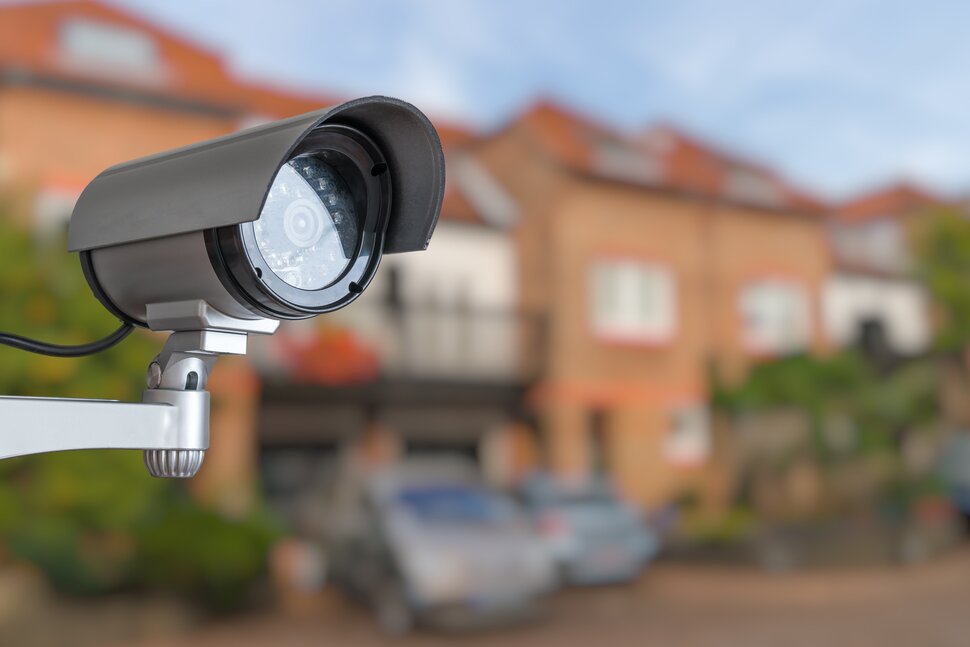
A stand-alone camera is a surveillance camera intended to film and monitor an interior or exterior space. As its name suggests, it does not need to be connected to the mains via a power cable to operate: it is therefore wireless video surveillance . An autonomous camera is equipped with a rechargeable battery, which allows it to have a long autonomy without any external power supply.
It is necessary to recharge the battery, once in a while, to be sure that the camera does not stop working. Battery life is unique to each camera, and typically ranges between 3 and 9 months.
An easy to install system
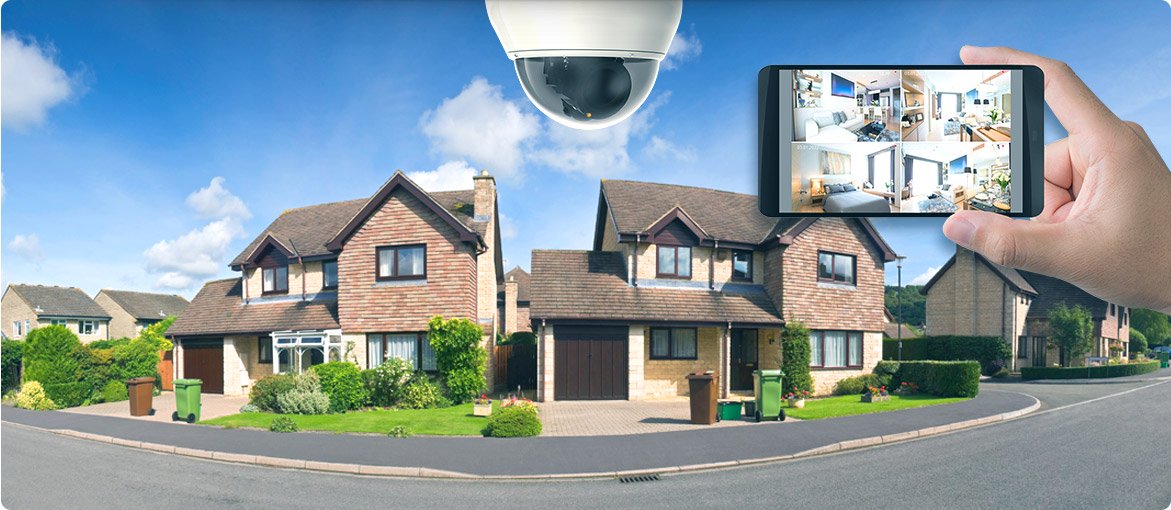
A stand-alone camera is childish to install since it is not necessary to connect it to the mains. The camera can be moved very easily, without constraints of accessibility or the presence of an electric cable. An autonomous camera is discreet and offers the possibility of remotely viewing the images filmed at home, at any time, live or delayed.
If a burglar cuts the power, the camera will continue to operate, which is a significant advantage over traditional cameras since many burglars cut the power before breaking into a home. With a stand-alone camera , such a maneuver will not prevent your system from working.
Wireless video surveillance: the importance of certifications
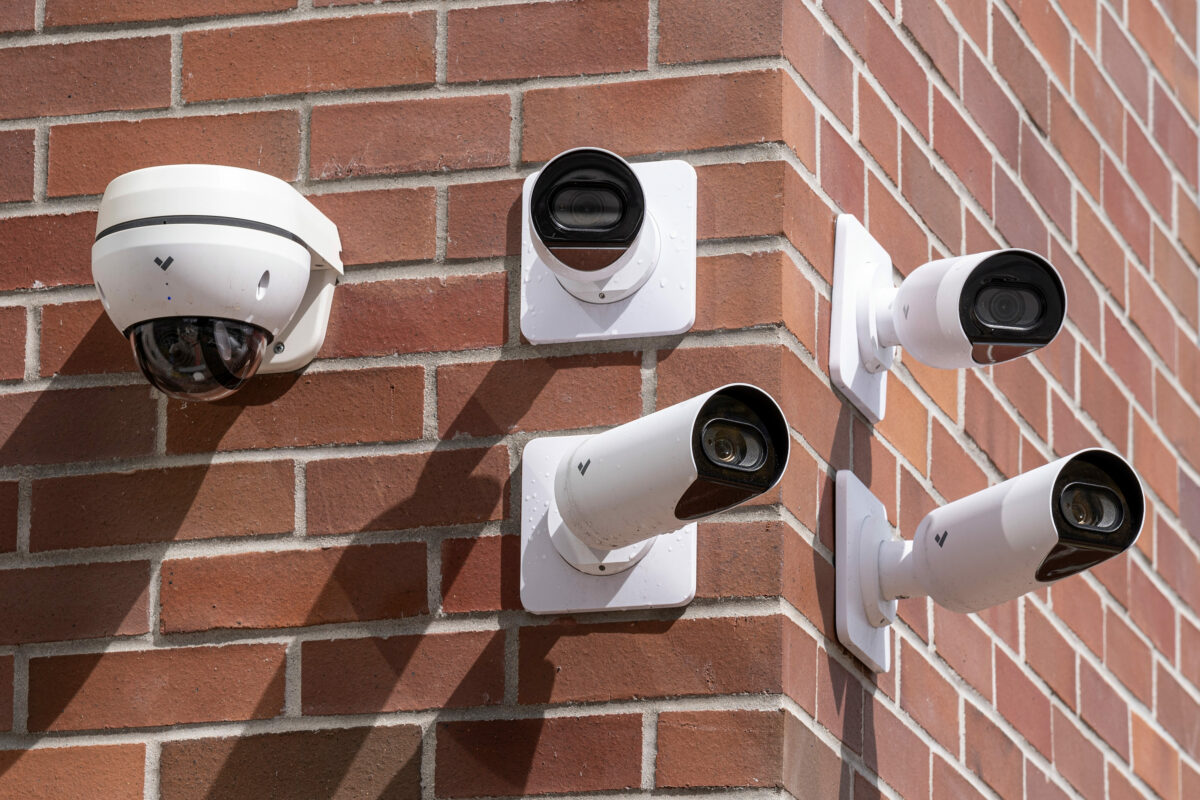
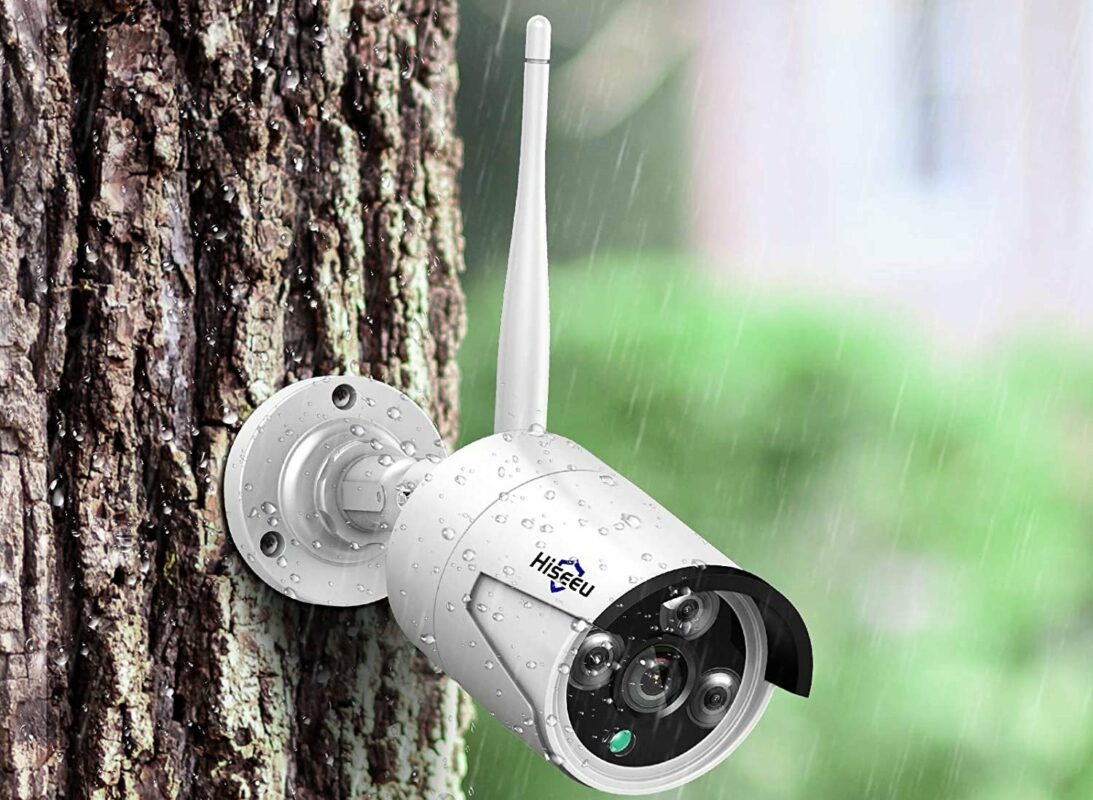
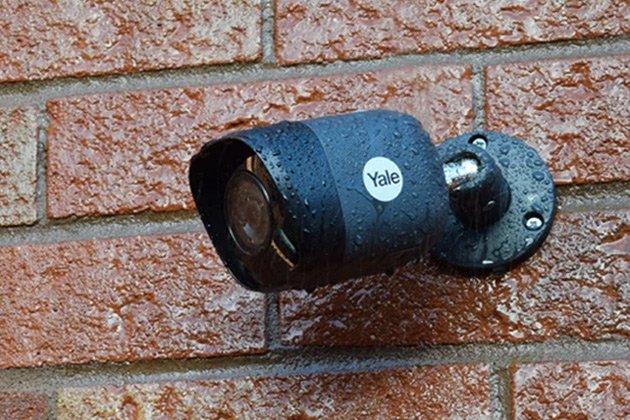
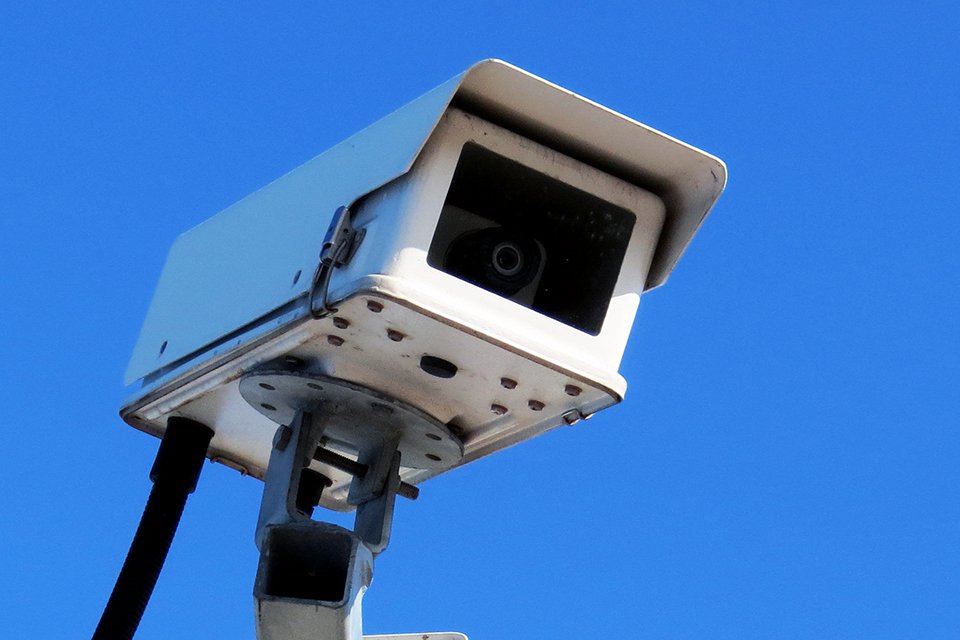
Most stand-alone cameras are waterproof, to withstand the elements. Several certifications ( IP 65, IP 67 and IP 68 ) make it possible to verify that your camera is very resistant and that you can install it outside without any problem.
The IP 65 certification indicates that the camera is totally protected against dust and that it is resistant to light water splashes. IP 67 certification means that the camera is completely dustproof and protected against temporary submersion. IP 68 certification indicates that your camera is protected against prolonged immersion.
A solar camera is both economical and environmentally friendly
A solar camera is a wireless surveillance camera, powered by a solar panel , often installed on top of the camera. This camera is installed outdoors and is waterproof: it is therefore resistant to bad weather. It can operate in total autonomy and is still equipped with a conventional battery, if ever the solar panel was not sufficient. But, its autonomy can be unlimited if the surveillance camera is optimally exposed to the sun . You must orient your solar panel towards the South, so as to capture as much sunlight as possible.
For the rest, a solar camera fulfills all the functions of a classic surveillance camera. Solar cameras are simple to install and energy efficient since they can operate completely autonomously . These cameras are advantageous both from an ecological and economic point of view and are increasingly appreciated by users.
How to install a camera?
Installing a standalone camera is quick and easy. You can do it on your own, without using a service provider, with the help of the installation guide that comes with it.
Generally speaking, the steps to install your standalone camera are as follows:
- Choose the right location to install your camera, in order to have a complete and unobstructed view of the area to be monitored , while ensuring that your camera is not too easily spotted by potential burglars.
- Insert the batteryinto your camera, and make sure it is fully charged.
- Turn on the camera and manually connect it to the wifi network.
- Download the application dedicated to the use of your camera on your smartphoneor your computer.
- From the application, configure your cameraaccording to your needs.